

Quickly and easily set up mirrored edge gallery wraps in seconds with our free Photoshop gallery wrap script – step by step instructions and script download link.
How much time do you spend in Photoshop setting up your images to be gallery wrapped?
Too long? Yeah, us too. We have a quick post for you today which will hopefully help speed things up.
Martin Renters from Teckelworks.com created a nifty gallery wrap script that automatically mirrors images. Printmakers and artists that gallery wrap their art will find this little plugin saving them huge time on preparing their work for production.
To take it one step further, we created three versions of Martin’s script – one for each size of our EasyWrappe system (see the very bottom of this post for a discount code on your EasyWrappe order).
All three, along with step-by-step instructions, can be found for free download below!
→ DOWNLOAD THE PHOTOSHOP SCRIPTS + TUTORIAL
What is a canvas gallery wrap?
A canvas gallery wrap is created when a canvas print is stretched around a stretcher bar frame, wrapping the image around the edges of the bars.
It can be displayed with or without a canvas floater frame, and lends itself beautifully to photographic as well as traditional artwork.
Product Links
Armed with our EasyWrappe do-it-yourself gallery wrap system, and this Photoshop script, producing gallery wrapped prints yourself could not be easier.
Grab the scripts for EasyWrappe 1.25”, Pre-Notched Stretcher Bars 1.5″, and EasyWrappe Pro 1.75” by clicking here, and read on for the step-by-step tutorial on how to use it.
TUTORIAL
Here’s how to use the image mirroring script to quickly prep your work for print.
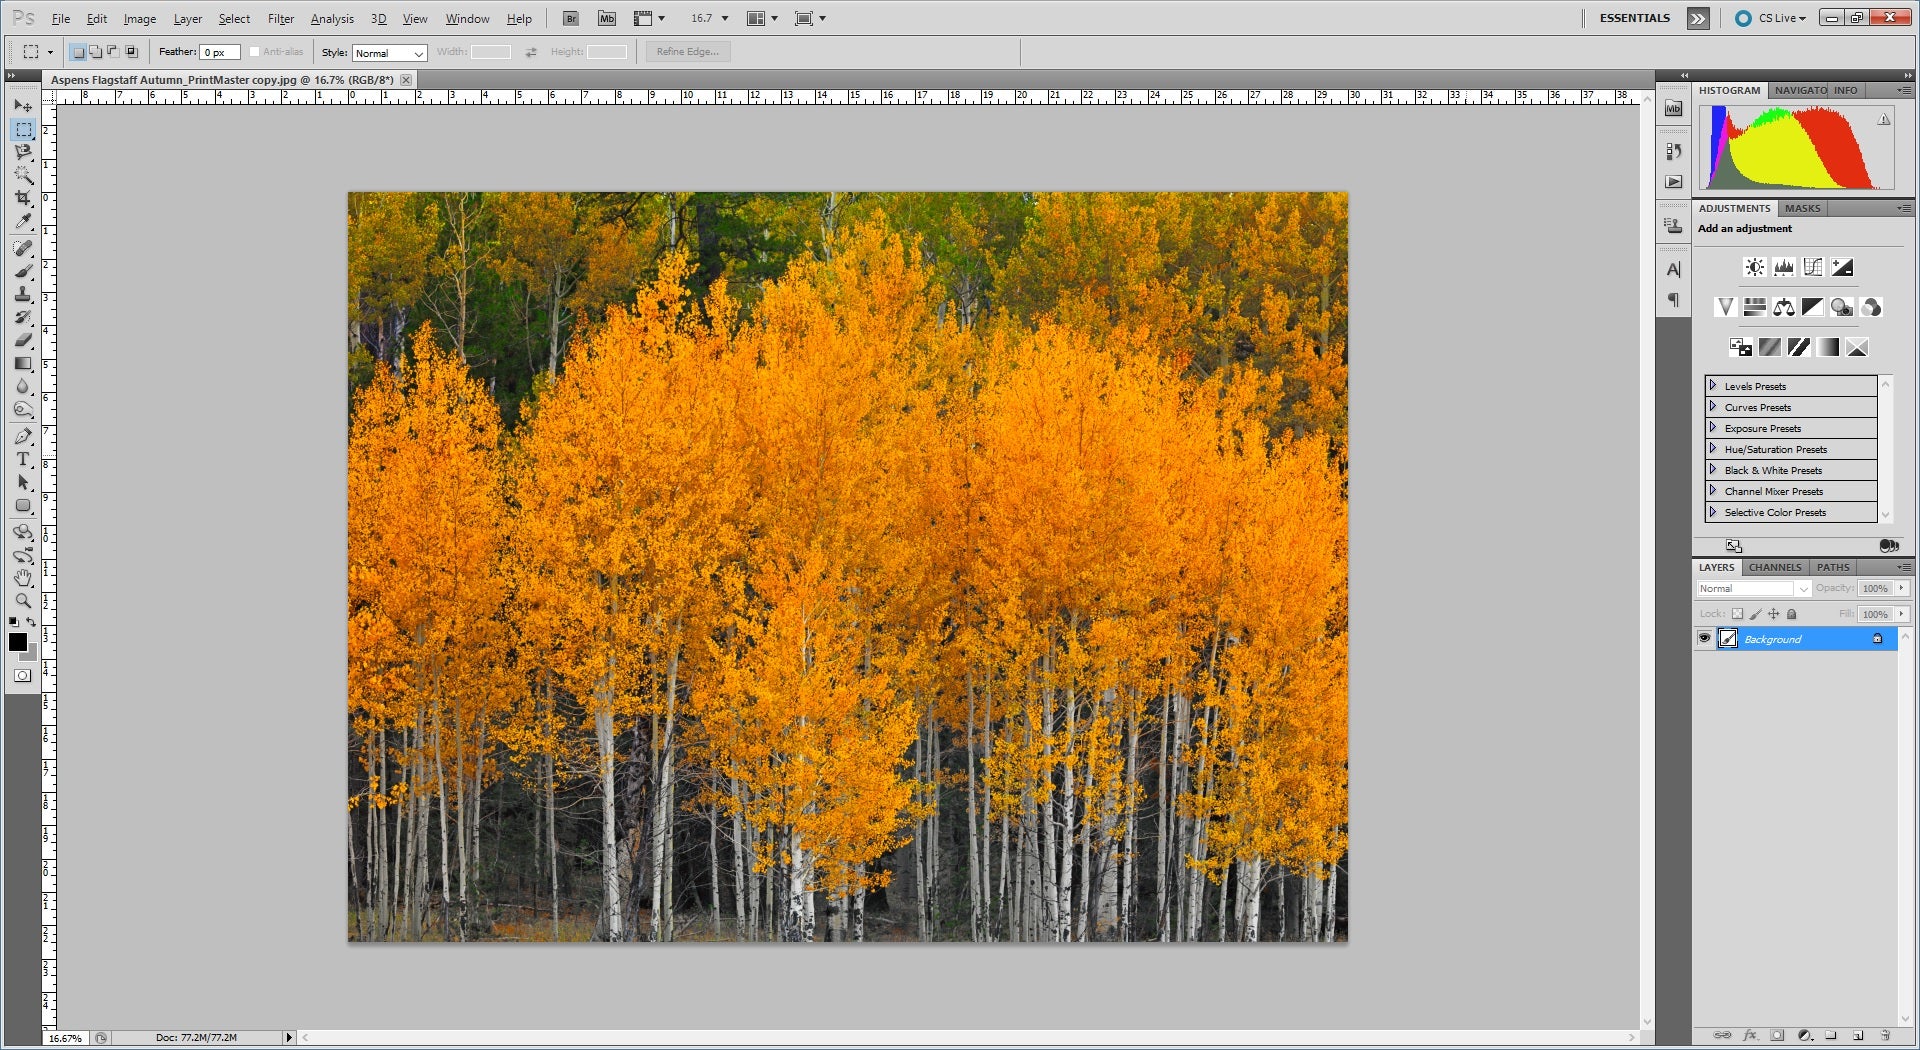
Step 1: Open
Step 2: Re-size Image
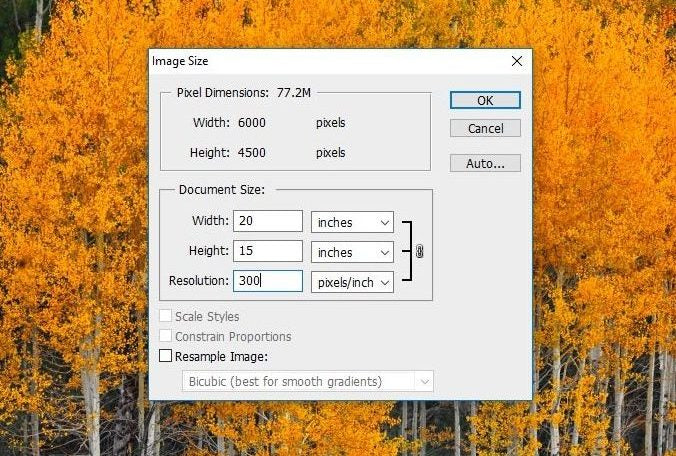
Navigate to Image > Image size and re-size your image. The height and width here should match the length of your stretcher bars.
You may need to crop or edit your image if your image’s dimensions differ from your stretcher bars’.
Step 3: Navigate

Navigate to File > Scripts > Browse…
→ DOWNLOAD THE PHOTOSHOP SCRIPTS + TUTORIAL
Step 4: Select Script

Select your script based on the type of Stretcher Bar you are using.
Step 5: Edit Parameters

Edit the parameters for your gallery wrap. The settings will default to a mirror wrap of the exact width of our stretcher bars.
To give yourself a little bit of wiggle room while stretching, consider adding 0.25″ to the wrap size. Click OK when ready.
Step 6: Fill In the Edges

Your image has been modified for the gallery wrap. Once this has been completed, you will be left with a Marquee selection of the mirrored edge around the image.
You have the option to use this selection to fill in your edges with gray, black, or any other color.
Step 7: Scale and Print!

Now you are ready to print! Make sure to set up your print job so Scale in Scaled Print Size is left at 100%.
If the image is scaled above or below 100%, the image will not print at the correct size.
→ DOWNLOAD THE PHOTOSHOP SCRIPTS + TUTORIAL
This Photoshop script should speed things up when you’re preparing your image files for print.
Thanks again to Martin Renters for providing it for us. Happy printing.
