

How to use the Pen Tool in Photoshop – overview of the pen tool and then a demonstration of using detailed paths to create a composite image.
The Pen Tool is the only vector selection tool in Photoshop, which means that it creates paths instead of groupings or grids of pixels.
The difference is that vector path selections, that are not pixel dependent, can be enlarged while preserving smooth, crisp clean edges.
When enlarged, pixel grid selections display “bit mapping” or irregular ragged edges.
To understand how this happens, we can study this super enlargement of a work image:

This is a green screen image, meaning it’s photographed for easy extraction of the subject from the background.
However, the super enlargement reveals that the edges in photography are not definite. Pixels bleed into each other as one object turns into another.
Color haloing is a common problem as are ragged edges if the object is enlarged very much.
Here we can view a comparison of edges created by the Quick Selection Tool, Select Color Range, and the Pen Tool.

This image is at 100%. No edge feathering or modification has been done.
Be mindful that a razor sharp edge isn’t always what you want, but neither are mushy irregular ones, so it’s important to know a variety of ways of making selections.
Pro-Tip:The more you know about Photoshop, the more likely you are to make choices that make your imaging experience time efficient and your results pleasing and professional.
The Pen Tool creates Paths. A path consists of a starting point and an ending point and may consist of many points, lines, angles, and curves.
When it is “loaded”, curves and edges are seamless and precise. Paths may be saved with images.
This means that an image may be enlarged and the path “loaded” with no detriment to the precision edge.
Now that we understand the purpose of the Pen Tool, let’s look into the features of it.
More from our Popular Tools in Photoshop series:
- Transform Tool
- Color Range
- The Marquee Tools
- Select And Mask
- Puppet Warp Tool
- How to Create a Custom Pattern
- Spot Healing Brush Tool
- Healing Brush Tool
- Clone Stamp Tool
- Dodge and Burn
- Brush Tool Basics
- How to Create a Custom Brush
Overview Of The Pen Tool
The Pen Tool is located on the Vertical Tool Bar, 15th from the top, Keyboard Shortcut P.

Pen Tool Toolbox
The standard Pen Tool is nested with the Freeform Pen Tool.
The Freedom Pen Tool is like the Magnetic Lasso Tool and tries to grab the edge of contrast to create quick selection.
Auto select tools like the Freedom Pen Tool or the Magnetic Lasso Tool is good perhaps for clear graphic work, but the challenge for photographers is that it is not precise enough.
Photography consists of delicate value and color gradients that are difficult for auto select tools to define.
These are the other features of the Pen Tool toolbox:
- Add Anchor Point Tool: May be accessed with the Keyboard Shortcut Control (Mac) or Right-Click (PC), hover over the path and select from the menu. This is usually used when editing a path and you think you can benefit from another point.
- Delete Anchor Point Tool: May be accessed with the Keyboard Shortcut Control (Mac) or Right-Click (PC), hover over the point you wish to delete and select from the menu. This option is helpful when simplifying a path will be beneficial.
- Convert Point Tool: Can be accessed with the Keyboard Shortcut Option (Alt). Changes a curved point to a sharp corner point or visa-versa. Hover over the point you wish to convert. Click on the point. If it was a curved point it will convert to a corner point. If it was a corner point, you can drag and change it to a curve.
Path Vs. Shape
Options for the Pen Tool differ according to the mode you choose. You can choose to make a Path Selection or a Shape Selection.

Paths are independent of layers and pixels. When you create a Path, nothing happens until you decide what you want to do with it.
Shapes will create a Shape Layer and automatically fill or outline it as to the options you preset.
Pro-Tip:Shapes option is a frequent choice of graphic artists. Photographers generally choose Paths.
Now, let’s explore the options of the toolbar.
The Pen Tool Toolbar Options
The top left is the Preset icon. There is one default Preset, Peanut Dash, that draws a line of peanuts along the path as you draw it.
The icons on the right side within the Preset panel will either access the Preset menu or will allow you to create a new Preset with just a click.

Moving right, we come to the menu where we can choose the kind of path we want to make: Shape, Path, or Pixels.
The next area is not active until you actually have a path to work with.

When you have a path, the options offer three shortcuts to things you might want to do with the path: Selection, Mask, and Shape.
Selection turns the path into a selection.
When you click on this option, a window will open offering a field in which you can enter a feathering radius and, if you have other active selections on the image, choices to add to, subtract from or intersect with the existing current selections.
Mask adds a Layer Mask to the layer upon which the Path was drawn, using the Path as reference.
Closed Paths show as visible shapes according to the shape of the Path. Open Paths are “snap closed” between starting and ending points.
Shape turns the Path into a Shape Layer.
The next three options offer ways of organizing multiple shapes and choosing how you want them to interact with each other.

The very first option on the left lets you combine shapes.
You can add, subtract, intersect, or exclude so you can edit Paths and Shapes as you desire.

The second option helps with alignment of edges or the shape of the document’s boundaries.

The third option helps in organizing the layering order of shapes on your document.

The last option, a Settings option, allows you to check a box to see a “rubber band”.

I consider this option significant, especially for new Pathmakers, because it runs a string between points while you are drawing and it lets you know if your Path is connected properly.
When you are drawing a Path and discover the rubber band is missing, you can look back and click on the last point you made to reconnect.

If Auto Add / Delete is checked, points may be added to or subtracted from the Path just by clicking on the path where you want a new point or clicking on the point you wish to delete.

The box for Align Edges is something I’ve never used in drawing in Path mode – it’s not an active option.
If you want to use the Pen Tool to draw Shapes, there are some different options.

After the Presets and Mode are options for pre-setting fill colors and outlines for the shapes you create.
They open into windows with drop down menus with a variety of choices, including leaving these options out.

The Fill option has 5 basic options across the top that let you choose how you would like the shape to fill: No Fill, Solid Fill, Gradient Fill, Pattern Fill, or access to the Color Picker.
The Swatch panel displays recently used colors as well as the current Swatches.
The side menu offers choices for how you wish to view the Swatches, access to the Preset Manager, and a means of loading new swatches to choose from.
Just click on the color you want to fill the shape.

The Stroke option is similar. It offers the same basic options across the top but it offers Patterns instead of Swatches – including a scale slider to change the size of the pattern to fit the image you are working on.

The little slider option just to the right of the Stroke options allows you to change the width of the stroke on the fly.

– and the option just to the right of that one offers choices in the appearance of the stroke as far as it being solid, dashed or dotted and what the corners might look like.

The next options provide a running tally of the pixel width and height of the selection you are making.

The rest of the options are the same as the ones we discussed earlier when our mode was set to Path instead of Shape.
Pro-Tip: When you are making a Path, zoom into at least 200%. Many times I’ll zoom in even further so I can accurately see what I’m selecting and what I’m leaving out.
BONUS: Get this post on Photoshop’s Pen Tool as a free printable PDF by clicking here!
How To Use The Pen Tool

To make a Path, start by clicking on the image. You will receive a point and, if Rubber Band is active, a flexible “string” extending from the point to where the tip of your cursor is.

Tap again, and you will receive a second point, and so on.
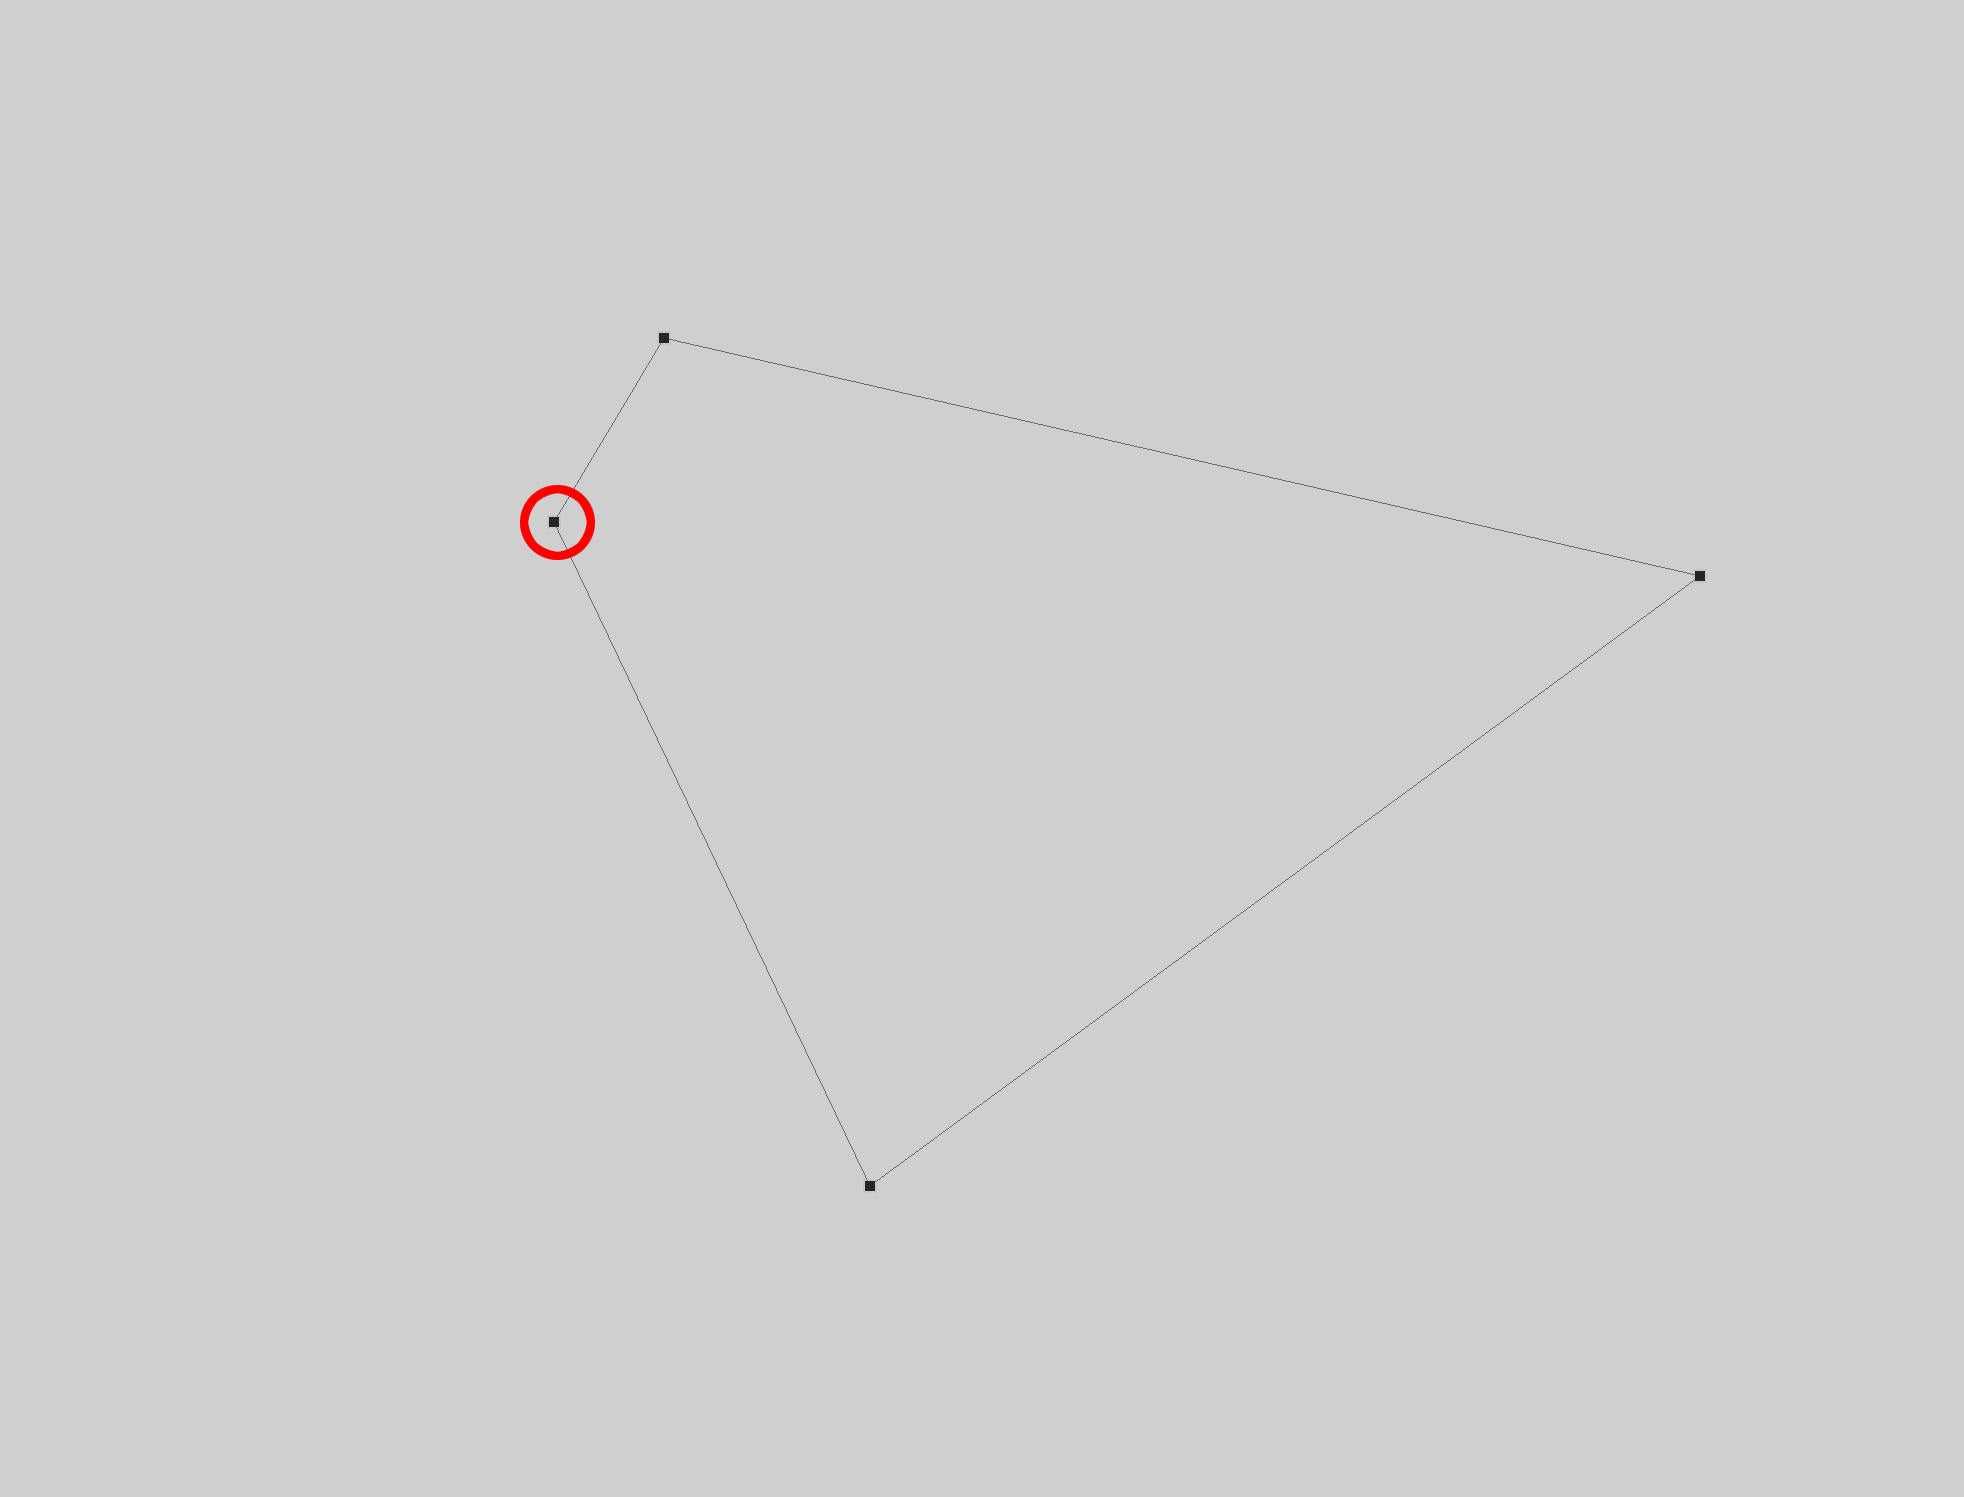
Here I’ve made four points. The current active point is solid black, the others are just outlines.
If I wish to close this Path, I must hover over the initial point and when I’m in perfect position to click on it, a small circle “closure” icon appears letting me know that I’m in the right position to click and close the Path.
This Path consists of all Corner Points. Each segment draws a straight line from one point to the next.
These are created just by clicking or tapping on the image.

In order to create a curve, just click and drag.
When you drag, two adjustment handles are created – one follows the direction you are pulling away from the point, and the other extends on the back side of it in the same length.
The path will curve and bend with the direction you are dragging, making tight curves possible with small pulls, and large curves possible with long ones.
Points and handlebars can be further adjusted at any time just by holding down the Command (Control) Key and moving things around until you have what you want.
In fact, the Command (Control) Key is your good friend when making Paths!
You can adjust and move things as much as you want without ruining anything – as long as you’re holding down the key.
So, a detailed Path is created by making a combination of corner points and curved points that follow the outline of the object you want to select.

Here’s how I make it as simple as possible: I think of the Path as a wagon train trip that is being made from St. Louis to Sacramento and back.
The wagon train consists of a scout, the point where the group makes camp and the passengers themselves.

The premise is that the wagon train begins the trip and stops at some point to make camp.
The scout goes on ahead, but not too far, to check the path for the next day, and the passengers go back along the way they came to shape the path for future generations of travelers.
This means that the point will be laid on the edge of the object and the lead point will be drug out slightly along the outline of the object.
The curve is formed by holding down the Command (Control) Key and adjusting the back point. On an image, it looks like this:

Just continue around the edge of the object you wish to select, making large or small curves as needed and corner points where you need an abrupt change of direction.
You can use the Keyboard Shortcuts Command (Control) + or – to zoom in and out while working. and also use the Space Bar to grab and pan around the file.
Use the Command (Control) Key to move points and make curve adjustments either while you are drawing the Path or after it is completed.
Use the Change Point Tool to alter points from corners to curves and visa-versa.
Add or remove points as needed by using the Pen Tool options within the Vertical Tool Bar or convenient Keyboard Shortcuts.
During Path adjustments, it’s easy to become disconnected from the original Path. When this happens, the path looks like a simple line – no points or handlebars are visible.
If you are using the Rubber Band option, there will be no Rubber Band. When this happens, don’t panic, hold down the Command (Control) Key and click on the Path.
It should come to life again! Then, just look for the last point you made and click on it to re-attach.

Some artists use the History Window when making Paths. History makes it easy to step back when things get out of control.
If you are using History to step backward, just start clicking on previous states until you see you are back where you want to start over again.
A finished graphic of a Path looks like this:

And on an image it looks like this:

As mentioned earlier, a Path is completed when it is closed. To close a Path, click on the first point you made.
The Pen Tool icon will change and display a small circle just under it to let you know you are in the correct place.
When the Path is closed, the Rubber Band will disappear, also letting you know the Path is completed.
A linear Path may be closed by holding down the Command (Control) Key and clicking where you want the linear Path to end.
Text may be applied to a linear Path giving it a fluid, freehand flow across a file.

When the Path is complete it should be saved. To save a Path, open the Paths Window, double click the words that say Work Path and give the path a name.
Pro-Tip:When drawing Paths, draw just inside the outline of the object to eliminate color bleed in from the background. No need to include messy lumps in clothing either; just cut off what you don’t need!
When the Path is saved, also save your image file.
Naming the Path saves the path during the active work session, but the file is not saved with the Path until you save the file.
Sometimes selections are time-consuming and you don’t want to lose them!

To use the Path, open the Paths Window and either Command (Control) click on the picture icon representing the Path you wish to load, or select the Path and click on the icon that looks like a selection at the bottom of the Paths Window – or choose Make Selection from the drop-down menu located at the top right corner of the Paths Window.
From here you can add a Layer Mask and take advantage of the Properties Select and Mask edge refinements.

I often draw a bit wide around hair and once the Layer Mask has been added, I access Select and Mask and use Edge Detection to provide a softer selection of the edge of the hair.
In fact, I make a practice of getting the very best selection I can with the best tools for the job and then use Layer Masks, refinements and even hand brushwork to make image composites that are seamless and perfect.

Here’s a sample of what a Pen Tool selection might be used for – this one was combined with Select and Mask’s Edge Detection on the children’s hair.
Closing Thoughts

Learning to use the Pen Tool just requires a little bit of practice.
Once mastered, the Pen Tool adds a powerful vector selection ability to your bag of Photoshop tricks.
It’s the perfect choice for creating logos and other graphics that will be used in a variety of sizes, like business cards and billboards.
It’s my go-to selection tool anytime I want a smooth sleek edge!

Jane Conner-ziser is an award winning photographer, digital artist, premier educator and independent consultant. With over 25 years of experience, 19 of them in digital imaging and evolving technologies, the techniques Jane developed for facial retouching and enhancement and portrait painting from photographs are widely emulated by photographers and digital artists worldwide through her classes, online training and educational products.
